Shandong Fuqiang Technical & Application Team | Corporate Technical & Product Application Team | Published August 21, 2026
A hidden-screw tongue-and-groove PU sandwich panel wall goes up in eight checkable stages: structural verification, base flashing, first-panel alignment, fastening, joint sealing, repeated panel runs, opening trims, and a final expansion-gap inspection. Skipping the joint seal before engaging the next panel is the step that causes the most callbacks.
Numeric spacing, torque and sealant-volume figures below should always be cross-checked against your specific project’s structural drawings and the panel manufacturer’s current installation manual before crews start work — those figures vary by panel length, wind load and site conditions, and this guide sequences the process rather than replacing a stamped drawing set.
PU Sandwich Panel Installation: Step-by-Step Wall Guide
What You Need Before You Start
A crew installing hidden-fastener panels typically needs: a laser or bubble level, chalk line, tape measure, cordless impact driver with the correct fastener bit, a sealant gun loaded with a joint-compatible sealant, tin snips or a panel saw for trim cuts, and safety lifting equipment sized to the panel length being handled.
Before the first panel goes up, confirm three things on site: the sub-structure (girts or purlins) is plumb and at the spacing called out on the structural drawing, the wall opening dimensions match the shop drawings, and the panels delivered match the ordered thickness and length — a mismatch caught before installation is a phone call, a mismatch caught mid-wall is a rework.
Double-Sided Steel PU Sandwich Panel: Specs That Affect Installation
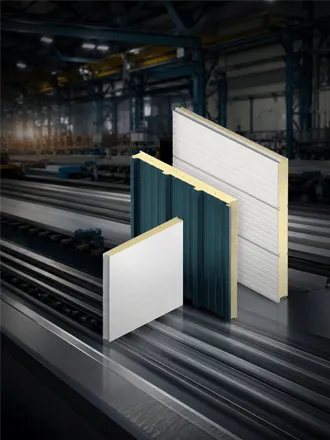
The panel dimensions themselves shape several of the steps below. Fuqiang’s Double-Sided Steel PU Sandwich Panel has an effective coverage width of 1000 mm, a thickness range of 50–200 mm, steel facing between 0.3–0.8 mm, a PU core density around 42 kg/m³, and a hidden-screw tongue-and-groove joint system.
That 1000 mm coverage width sets your layout math — plan panel counts and cut panels in whole increments before ordering trim, rather than field-cutting a narrow sliver at the last stud. The hidden-screw joint means fasteners sit inside the overlapping tongue, concealed once the next panel engages; that only works if the joint gets sealed before that engagement, which is the step most competing installation guides skip over entirely.
The Eight-Step Wall Installation Sequence
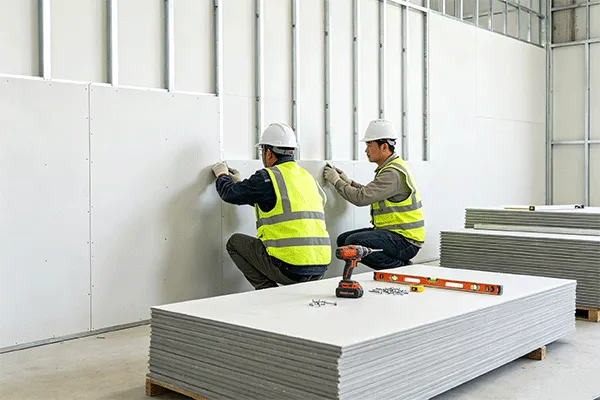
Verify the sub-structure. Check that girts or purlins are plumb, level and spaced per the structural engineer’s drawing for the panel length and local wind/snow load. Do not proceed on an out-of-tolerance frame — panel joints won’t close evenly on a twisted structure.
Install the base flashing or starter track. This runs along the bottom of the wall run before any panel is set, and it does two jobs most crews underrate: it gives the first panel a true, level reference line, and it sheds water away from the wall base rather than letting it wick up behind the first course.
Set and plumb the first panel. Position it against the base flashing, check plumb on both edges, and temporarily brace it. Every panel after this one takes its alignment from this first one, so re-check plumb here even if it costs extra minutes.
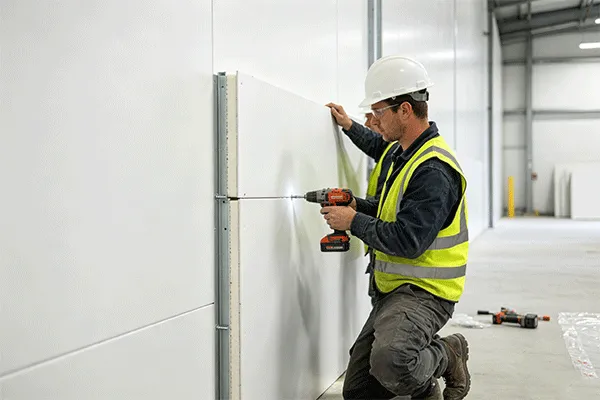
Fasten through the concealed screw zone. Drive fasteners through the tongue side of the panel per the manufacturer’s fastening pattern, seating each screw so the panel face isn’t dimpled or over-compressed — an overdriven screw can crush the PU core locally and create a visible dip in the steel face.
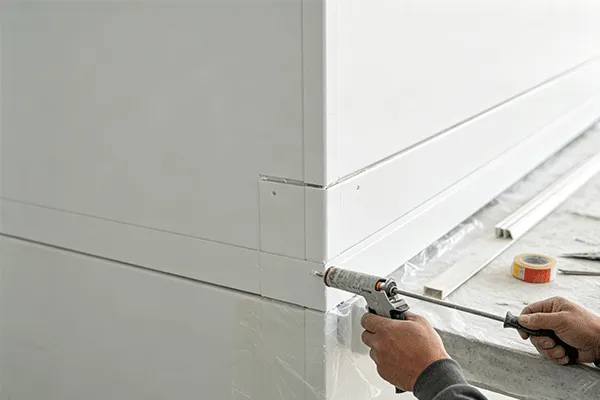
Seal the joint before engaging the next panel. Run a continuous sealant bead in the female groove, then slide the next panel’s tongue into place while the sealant is still workable. Sealing after the panels are already engaged means the bead sits on the surface instead of inside the joint, which is the single most common reason hidden-fastener walls develop water staining at the seams within a year or two.
Repeat panel by panel, checking plumb at intervals. Re-verify plumb and joint closure every three to four panels rather than only at the end of the run — small cumulative drift is easy to correct early and expensive to correct after the last panel is set.
Install trims and accessories around openings and corners. Corner trims, window and door surrounds, and closure strips go on once the field panels are set, using coordinated metal trims matched to the panel’s coating and color.
Final inspection: expansion gaps, fastener count and joint seal. Confirm every panel-to-panel joint is sealed, fasteners are fully seated without over-compression, and a visible expansion gap is present at panel ends rather than a tight butt joint — panels expand and contract with temperature, and a gap-free installation is the setup for buckling later.
PU Sandwich Panel Installation: Step-by-Step Wall Guide
Why Skipping the Joint Seal Is the Most Common Failure Point
Step 5 gets skipped more than any other step on real job sites, usually because sealing before engagement slows the crew down panel by panel. The panels still look correctly installed the day the wall goes up — the tongue-and-groove joint closes and the fasteners are hidden either way. The difference shows up later, when water finds the unsealed joint from the outside and there’s no sealant inside the groove to stop it.
Compared to installation pages that walk through fastening and trim work but leave the sealing sequence to a single generic line like “apply sealant as needed,” a sequence that puts the joint seal as its own numbered step — before the next panel engages, not after — is the detail that actually prevents the callback.
How Do You Know the Installation Passed?
| Checkpoint |
What to Look For |
Fail Signal |
| Plumb and level |
Panel faces flush across the run, no visible step at joints |
Cumulative lean or a visible dip at any panel boundary |
| Joint seal |
Sealant bead applied before engagement, no visible gap |
Sealant only on the surface, or missing entirely at a joint |
| Fastener seating |
Screws flush, panel face undimpled |
Crushed or dimpled steel face at fastener points |
| Expansion gaps |
Visible gap at panel ends per manufacturer spec |
Panels butted tight end-to-end |
| Base flashing |
Continuous run along the wall base, no gaps |
Flashing sections not overlapped or missing at corners |
| Trim coordination |
Corner and opening trims matched in color/coating |
Mismatched trim finish against field panels |
PU Sandwich Panel Installation: Step-by-Step Wall Guide
A wall that passes all six checkpoints on a walk-through is ready to hand off; a wall that fails even one — most often the joint seal — should get that section reopened before it’s signed off, not noted for a future punch-list visit.
FAQ
Can PU sandwich panels be installed vertically and horizontally on the same wall?
Panel orientation depends on the project's structural and drainage design, and the 1000 mm coverage width of the Double-Sided Steel PU Sandwich Panel factors into the layout either way. Confirm orientation against the approved shop drawings before ordering panel lengths.
Do hidden-screw panels really not show any fasteners?
The fasteners sit inside the tongue-and-groove joint, concealed once the next panel engages — that's what makes sealing the joint before engagement non-negotiable, since it's the only point where that seam gets protected.
What happens if the base flashing is skipped?
The first panel loses its level reference line and there's nothing directing water away from the wall base, which raises the risk of moisture wicking up behind the lowest course over time.
How often should plumb be checked during installation?
Every three to four panels is a workable interval for catching drift early; waiting until the run is finished makes any correction far more disruptive.
Where can I get pricing for panels and matching trims?
Pricing is quotation-based, set by panel specification, quantity, customization, coating and shipping terms — a formal quote follows once panel thickness, length and trim requirements are confirmed.



 August 21, 2026