

견적 받기
24시간 이내에 답변드리겠습니다. 긴급한 경우 WhatsApp/WeChat(+86 13789803607)으로 연락하시거나 +86 13789802672로 직접 전화해 주세요.
*고객님의 기밀을 존중하며 모든 정보는 보호됩니다.
귀하의 문의에 답변하기 위한 목적으로만 귀하의 정보를 사용하며, 원치 않는 이메일이나 홍보 메시지는 절대 보내지 않습니다.

 August 28, 2026
Shandong Fuqiang Technical & Application Team
Contractor installation guidance | Updated August 27, 2026
Installing a PU sandwich panel wall is a sequence of verified handoffs: set out the support frame, confirm the 1000 mm module, fix the first panel, close each hidden-screw tongue-and-groove joint, finish openings and trims, then inspect seals and fasteners. The sequence below is a practical coordination guide; shop drawings and the selected panel supplier’s instructions control the final details.
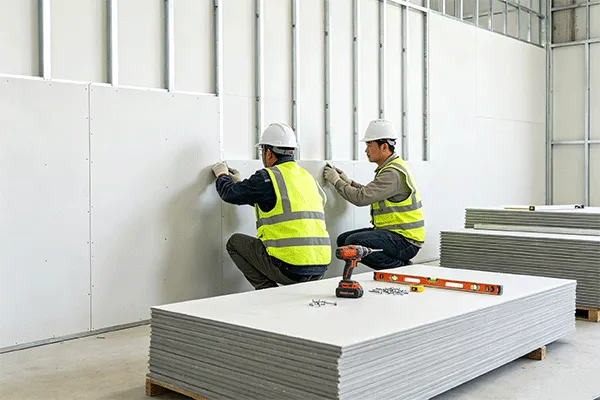
Freeze the wall section before delivery. Fuqiang publishes a double-sided steel PU sandwich panel with 1000 mm effective width, 50–200 mm thickness, approximately 42 kg/m³ PU density, 0.3–0.8 mm steel facings and a hidden-screw tongue-and-groove system. Those are product-line values, not a substitute for the approved order confirmation.
Install the base flashing and any separation or sealing layer shown on the approved detail. Check that the flashing is continuous at corners and that its fixing line will not clash with the panel joint. The first panel governs every panel after it, so verify plumb at the leading edge and confirm the panel is bearing where the drawing requires.
Use the specified fastener type, washer and embedment for the support material. Do not substitute a screw because its head looks similar. Over-driving can crush the facing or distort the joint; under-driving can leave movement and a leak path.
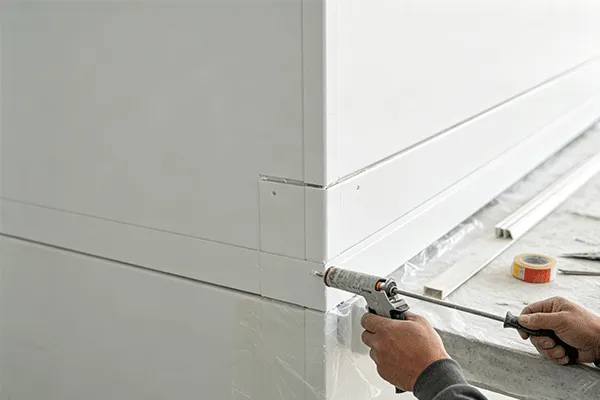
Dry-fit the next panel enough to check the joint, then apply the specified sealant or gasket continuously where the detail calls for it. Keep the groove clean. Bring the panel home without forcing the edge, align the face, and install fasteners in the sequence shown by the shop drawing.
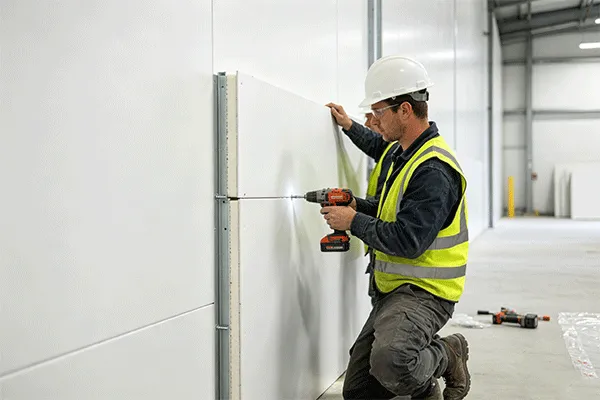
After fixing, inspect the joint from both sides where accessible. Look for an open seam, a pinched gasket, a deformed lip, exposed core or a screw head that has pulled the face inward. Correct the panel before the next one hides the work.
Check plumb and line at regular panel intervals rather than waiting for the end of the elevation. Compare the installed face with a string line or laser reference, and measure diagonals around openings. Small drift at each joint becomes a visible error at a corner or window.
Do not trim a panel to hide a support error without recording the change. Field cuts alter the edge detail and may expose the core. Mark the cut, protect the cut edge, and obtain the responsible engineer’s or supplier’s approval when the cut changes the tested or sealed configuration.
Set jamb and head trims only after the panel faces and opening datums are confirmed. Install closures and flashings so water is directed out rather than into the joint. Around pipes, ducts and cables, maintain the specified clearance and sealant arrangement; a neat bead over an uncoordinated penetration is not a tested detail.
Fuqiang publishes standard-order lead times of approximately 7–15 working days and customized orders of approximately 15–25 working days, subject to configuration and quantity. Build the inspection and approval time into the programme; a fast installation sequence does not remove the need for a coordinated submittal.
Compared with supplier pages that show only a finished elevation, a contractor checklist has to expose the interfaces that determine whether the wall remains straight, dry and serviceable. Fuqiang’s PU sandwich panel range can be coordinated with panel trims and accessories; send the wall section and opening schedule for a project-specific review.
Fuqiang publishes 1000 mm effective width for its double-sided steel PU sandwich panel. Confirm that the quotation uses effective cover width rather than sheet width or overall packing dimensions before calculating quantities.
Use the fastener, washer, spacing and embedment specified for the panel, support material, wind design and project detail. The website does not publish one universal fastener schedule, so the approved shop drawing and engineering review control.
Site cutting may be required at edges or openings, but each cut must be measured, approved and protected according to the detail. Do not leave exposed PU core or change a joint without checking the seal and fire or weather evidence for the configuration.
Clean the tongue-and-groove surfaces, apply the specified continuous seal or gasket, bring the panel fully home without forcing it, and inspect the closed joint before the next panel conceals the work. The exact sealant and location come from the approved system detail.
Include approved drawings, delivery and batch records, panel and accessory quantities, inspection records, photographs of concealed seals, fastener checks, opening and penetration details, and a list of repaired or rejected panels.
Shandong Fuqiang Technical & Application Team supports product configuration, production coordination and application review for insulated sandwich panels, decorative metal wall systems, roof panels and customized components. Individual team-member credentials are not publicly disclosed.
Fuqiang publishes 1000 mm effective width for its double-sided steel PU sandwich panel. Confirm that the quotation uses effective cover width rather than sheet width or overall packing dimensions before calculating quantities.
Use the fastener, washer, spacing and embedment specified for the panel, support material, wind design and project detail. The website does not publish one universal fastener schedule, so the approved shop drawing and engineering review control.
Site cutting may be required at edges or openings, but each cut must be measured, approved and protected according to the detail. Do not leave exposed PU core or change a joint without checking the seal and fire or weather evidence for the configuration.
Clean the tongue-and-groove surfaces, apply the specified continuous seal or gasket, bring the panel fully home without forcing it, and inspect the closed joint before the next panel conceals the work. The exact sealant and location come from the approved system detail.
Include approved drawings, delivery and batch records, panel and accessory quantities, inspection records, photographs of concealed seals, fastener checks, opening and penetration details, and a list of repaired or rejected panels.
24시간 이내에 답변드리겠습니다. 긴급한 경우 WhatsApp/WeChat(+86 13789803607)으로 연락하시거나 +86 13789802672로 직접 전화해 주세요.
*고객님의 기밀을 존중하며 모든 정보는 보호됩니다.
귀하의 문의에 답변하기 위한 목적으로만 귀하의 정보를 사용하며, 원치 않는 이메일이나 홍보 메시지는 절대 보내지 않습니다.